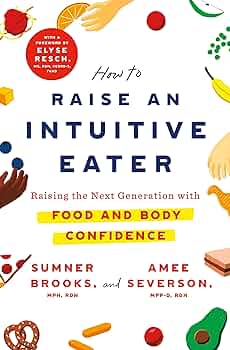
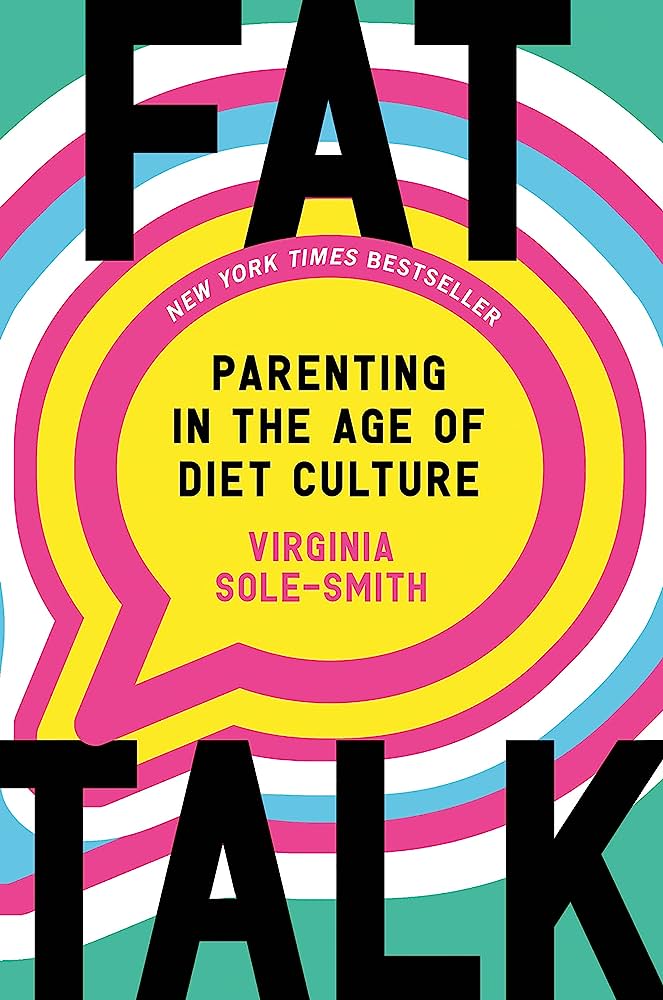
These buns are super easy, quick, and adaptable to your family’s favourite flavours!
Using greek yogurt allows for a quick bun that doesn’t need time to rise while also adding additional protein to promote a more satisfying snack.
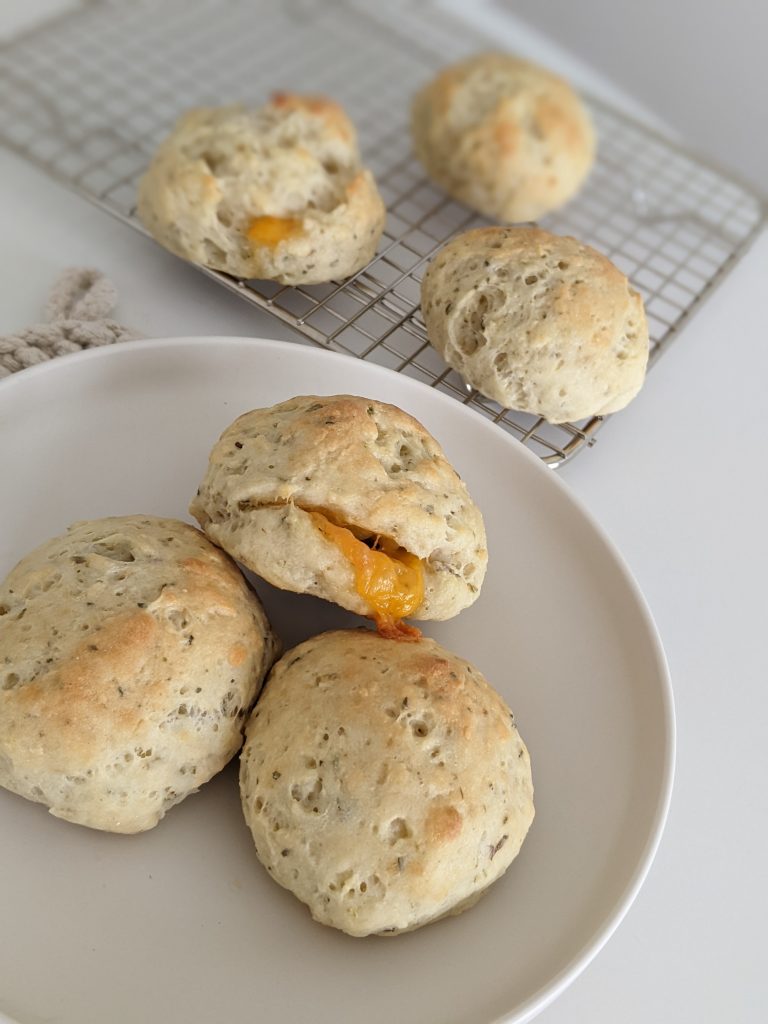
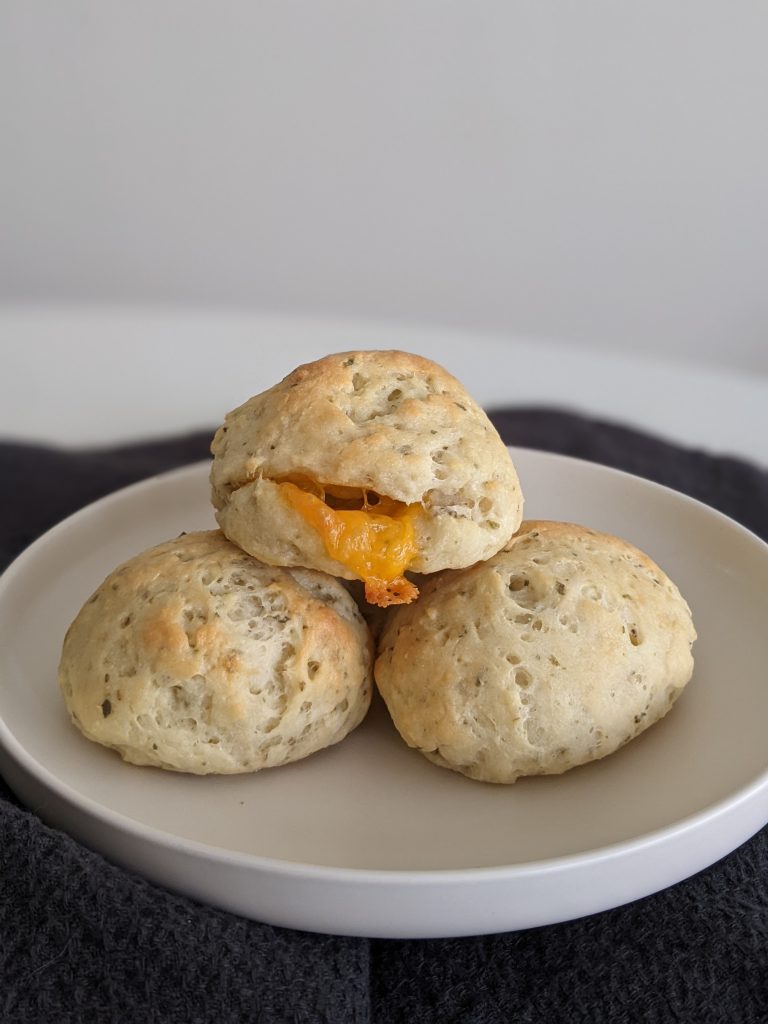
Keep in mind that the yogurt provides a more dense and moist textured bun rather than a bun that’s super fluffy.
This recipe is perfect for your little one to join in on the fun.
Depending on their age, they can choose different flavours, help stuff the buns, or get their hands dirty and knead the dough.
These buns provide a simplified baking experience that introduces your kids to new ways of using common ingredients (who knew yogurt could be used in buns?!).
We love filling these with cheese, but other ideas can range from pesto, pizza fillings, veggies, etc.
Let us know what flavours you try, and stay tuned for a sweet version of these soon!
Ingredients
Method
- Preheat oven to 400C
- In a medium bowl, add the flour, baking powder, salt, and optional seasonings. Stir with a sturdy spoon. Once combined, add the greek yogurt.
- Stir together until it resembles a crumbly dough. Here’s where kids can jump in and have fun with the dough. After washing hands, let your kids smoosh the dough until it all comes together! This dough is a bit sticky, and be sure not to over-mix it, as it will make it even stickier. Transfer the mostly together dough ball onto a lightly floured surface, and knead about 10 times. Don’t over-knead here, or it will become sticky again. If it’s getting too wet, just add a little flour to your surface or hands and continue.
- Once kneaded, cut into the size of buns you would like. We divided our dough into 6, which makes nice-sized snack buns.
- Stretch each dough ball so there’s room for fillings, and add what you have chosen. Then, pinch the edges to encase the filling. Now gently roll it back into a ball. You may need to add more flour while re-shaping your bun into a circle during this step.
- Place finished dough balls onto a baking sheet. You can now brush them with egg wash or melted butter (this step is optional, it just makes them a little more golden on top)
- Bake at 400C for 15-18mins, or until slightly browned on the tops.
- Let cool a bit, and enjoy while the cheese is still oozy! These buns can be kept in the fridge and eaten cold or re-warmed for that cheesy gooeyness 😊
Disclaimer
Information provided by our dietitians is for general education and is not medical advice.


